 giovanniromero.dev
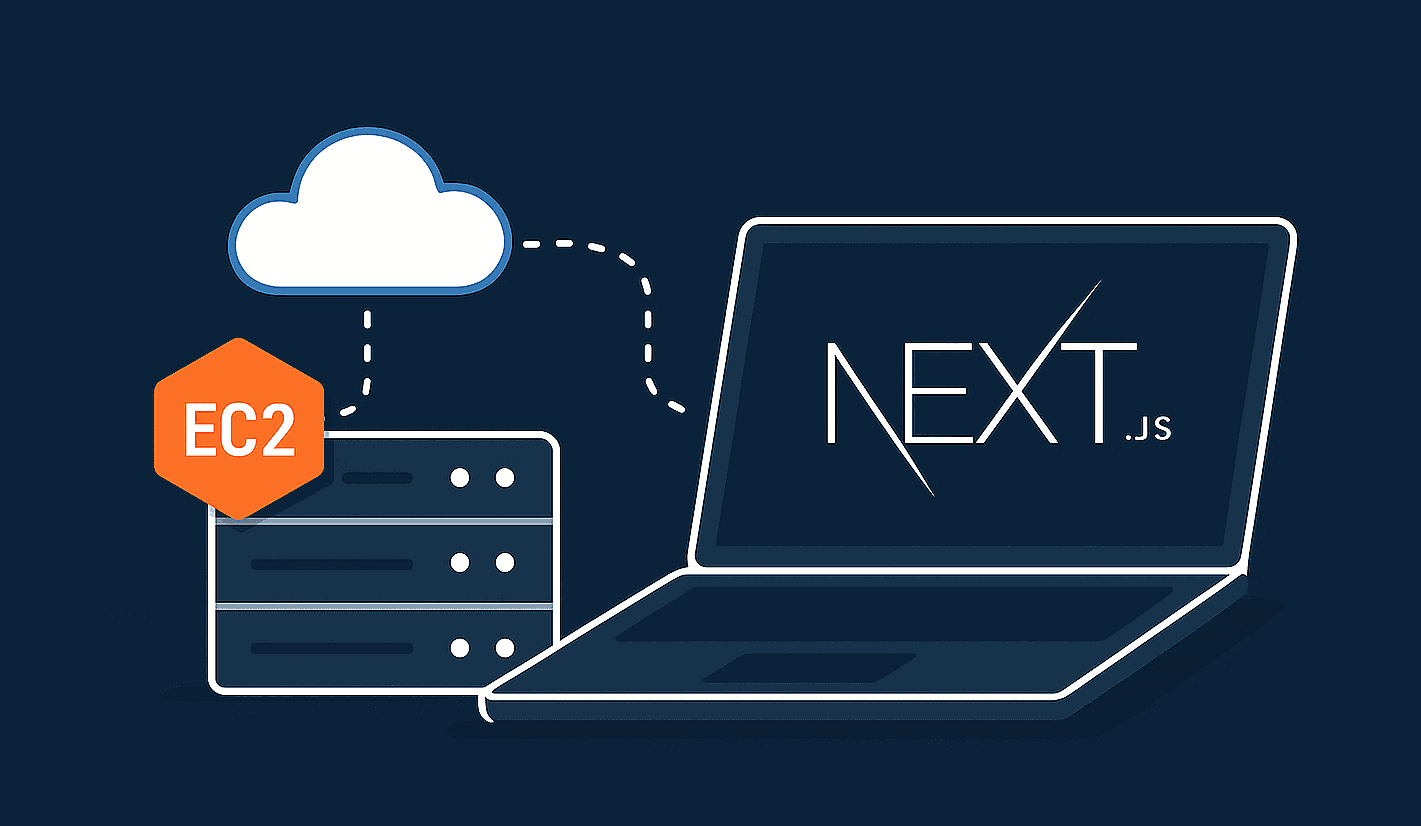
How to Deploy a Next.js App on EC2 with Automatic HTTPS Using Caddy (Full Example)
Do you want to deploy your portfolio or web app on a real server with a custom domain? In this tutorial, you'll learn how to: ✅ Set up an EC2 instance ✅ Connect via SSH ✅ Install Node.js, pm2, and Caddy ✅ Point your...
Do you want to deploy your portfolio or web app on a real server with a custom domain? In this tutorial, you'll learn how to:
✅ Set up an EC2 instance
✅ Connect via SSH
✅ Install Node.js, pm2, and Caddy
✅ Point your domain
✅ Deploy your app with automatic HTTPS
We’ll use a fictional project: myawesomeproject.dev.
PART 1: Create the EC2 Instance in AWS
🔧 Step 1: Launch Your Server
- Go to https://console.aws.amazon.com/ec2
- Click on “Instances”, then “Launch instance”
- Use the following configuration:
- Name:
my-server - Operating system: Ubuntu Server 22.04 LTS
- Instance type:
t2.micro(Free Tier eligible) - SSH Key: Create or select one (e.g.,
MyServerKey.pem) - Security group:
- Allow these ports:
- 22 (SSH)
- 80 (HTTP)
- 443 (HTTPS)
- Allow these ports:
- Name:
- Click Launch instance
🌐 Step 2: Point Your Domain
Let’s say you own the domain myawesomeproject.dev. Do the following:
- Copy the public IP address of your EC2 instance (e.g.,
34.201.1.100) - Go to your domain provider (e.g., Cloudflare, GoDaddy)
- Edit the A record of
myawesomeproject.devand point it to your EC2 IP
Test it with:
ping myawesomeproject.dev
Once it returns your server's IP, you're good to go.
⚙️ PART 2: Configure the Server
🖥 Step 3: Connect via SSH
From your terminal:
ssh -i "MyServerKey.pem" ubuntu@34.201.1.100
🔧 Step 4: Install Node.js, npm and pm2
sudo apt update && sudo apt upgrade -y sudo apt install -y nodejs npm sudo npm install -g pm2
Verify the installation:
node -v npm -v
Step 5: Clone Your Project from GitHub
cd /var sudo mkdir www sudo chown ubuntu:ubuntu www cd www git clone https://github.com/youruser/yourrepo.git myawesomeproject.dev cd myawesomeproject.dev npm install npm run build
Don’t forget to upload your
.envfile if needed.
Step 6: Launch Your App with pm2
pm2 start npm --name "myapp" -- run start pm2 save pm2 startup
Run the command that pm2 gives you, for example:
sudo env PATH=$PATH:/usr/bin pm2 startup systemd -u ubuntu --hp /home/ubuntu
🔐 Automatic HTTPS with Caddy
🔧 Step 7: Install Caddy
sudo apt install -y debian-keyring debian-archive-keyring apt-transport-https curl -1sLf 'https://dl.cloudsmith.io/public/caddy/stable/gpg.key' | sudo gpg --dearmor -o /usr/share/keyrings/caddy-stable-archive-keyring.gpg curl -1sLf 'https://dl.cloudsmith.io/public/caddy/stable/debian.deb.txt' | sudo tee /etc/apt/sources.list.d/caddy-stable.list sudo apt update sudo apt install caddy
⚙️ Step 8: Configure Caddy
Edit the Caddyfile:
sudo nano /etc/caddy/Caddyfile
Paste this content:
myawesomeproject.dev {
    reverse_proxy localhost:3000
}
Reload Caddy:
sudo systemctl reload caddy
🎉 Your Website is Live!
Open your browser and visit:
With HTTPS, blazing fast performance from Next.js, and no manual SSL configuration needed.
Production Review Notes
Before treating the deployment as complete, verify that DNS, firewall rules, Caddy certificates, environment variables, restart policies, and log retention are all working as expected. A small production checklist helps avoid silent failures after the first successful deploy and makes future updates easier to troubleshoot.
Want help applying this in your stack?
I can help translate the pattern, workflow, or architecture described here into a practical AI agent, automation, API integration, or full-stack implementation.
Leave a Reply
Your email address will not be published. Required fields are marked *

Comments